Exposure
The moon is brighter than many cameras expect. Start with a short shutter speed and low ISO, then correct downward if the bright disk burns out to pure white.
Great moon photos rarely come from maximum brightness. What matters is a short exposure, a steady camera, manual focus, and a moon phase that shows enough surface structure. This guide covers the settings, the focal length question, and the timing.
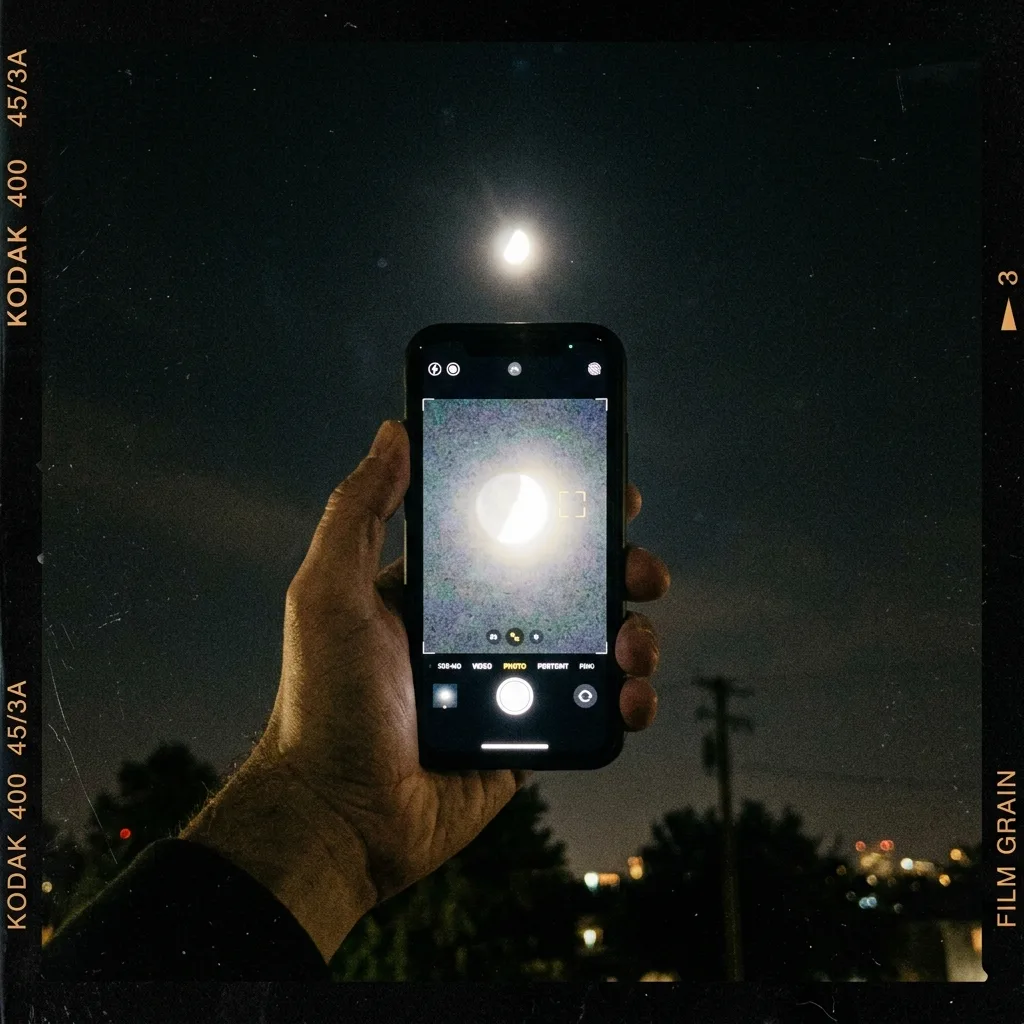
The moon is brighter than many cameras expect. Start with a short shutter speed and low ISO, then correct downward if the bright disk burns out to pure white.
On a smartphone, tap directly on the moon and pull the exposure down. On a camera, manual focus with live view magnification on a crater edge delivers the sharpest results.
A tripod or a solid resting surface often helps more than a new device. Every tiny movement blurs the moon, especially at long focal lengths.
The moon reflects direct sunlight, so its surface is about as bright as a sunlit day on Earth. That is why automatic metering, which averages in the dark sky, tends to overexpose it. The Looney 11 rule gives you a reliable manual starting point: set aperture f/11 and a shutter speed of roughly 1 / ISO — for example ISO 100 at 1/100 s, or ISO 200 at 1/200 s. Use a sturdy tripod and focus manually on a crater edge for maximum detail. For thinner phases, less light reaches the camera, so open the aperture step by step:
| Moon phase | Suggested aperture (at 1 / ISO shutter speed) | Light relative to full moon | Practical tip |
|---|---|---|---|
| Full moon | f/11 | Baseline (1x) | Evenly lit disk; craters near the rim show best. |
| Gibbous moon | f/8.0 | Needs 2x more light | Crater structures already cast clear shadows. |
| Quarter moon | f/5.6 | Needs 4x more light | High contrast along the day-night boundary (terminator). |
| Crescent moon | f/4.0 | Needs 8x more light | Very narrow sliver of light; a tripod becomes essential. |
The moon spans only about half a degree of sky. At 50 mm on a full-frame sensor it is a tiny dot; around 200 mm it becomes a recognizable disk, and from 400 mm upward crater detail starts to fill the frame. Crop sensors and smartphone tele modules effectively magnify further. Before you buy or carry heavy glass, preview exactly how big the moon will render with your sensor and lens combination in the moon lens simulator.
At lunar focal lengths, camera shake is the number one reason for soft photos. Three inexpensive habits solve most of it:
A small tripod, a wall, or a beanbag keeps the moon from wandering out of the frame at high zoom. Even a mini tripod for smartphones makes a visible difference.
Even the gentlest tap on the shutter causes vibration. Use a 2-second self-timer, a remote release, or your phone's voice trigger to fire the shot hands-free.
The moon moves across the sky faster than you might think. Keep shutter speeds short — ideally 1/125 s or faster at long focal lengths — to freeze both the moon and your hands.
The full moon is striking and easy to plan, but often flat in detail. Quarter and crescent phases show more structure thanks to the shadow line. For landscape shots, though, full moonlight can be exactly right.
Excellent for craters and relief, because light and shadow are clearly separated. The term covers both the first and the last quarter.
Ideal for a clean bright disk, moonrise over the horizon, and compositions with landscape. Surface detail tends to look less three-dimensional.
Useless for moon photos, but perfect for darker nights, starry skies, and planning astrophotography without bright moonlight in the way.
Both can deliver satisfying moon photos — they just need different techniques.
Use the optical tele lens rather than digital zoom, tap the moon to focus, and drag the exposure slider down until craters appear. Many phones offer a dedicated moon or night zoom mode; brace the phone on something solid.
Switch to manual mode, start from the Looney 11 settings above, shoot RAW, and focus manually with magnified live view. A telephoto lens from 200 mm upward turns the moon from a dot into a subject.
Use the lunar calendar to spot quarter moon, full moon, and new moon early. That way you can plan shooting time, location, and subject before the moon is already up.
For detail, quarter moon and crescent phases are often better than full moon, because the shadow line makes craters and relief stand out. The full moon works well for a clean disk and landscape compositions.
The moon is very bright against a dark sky, so many cameras expose too long. A shorter shutter speed, low ISO, and manual exposure correction prevent the bright disk from burning out.
Yes, if you reduce the exposure, focus directly on the moon, and hold the phone steady. A small tripod or a solid resting surface improves sharpness considerably.
From about 200 mm the moon becomes a recognizable disk, and from 400 mm upward crater detail fills a meaningful part of the frame. A lens simulator shows in advance how large the moon will appear with your sensor and lens.